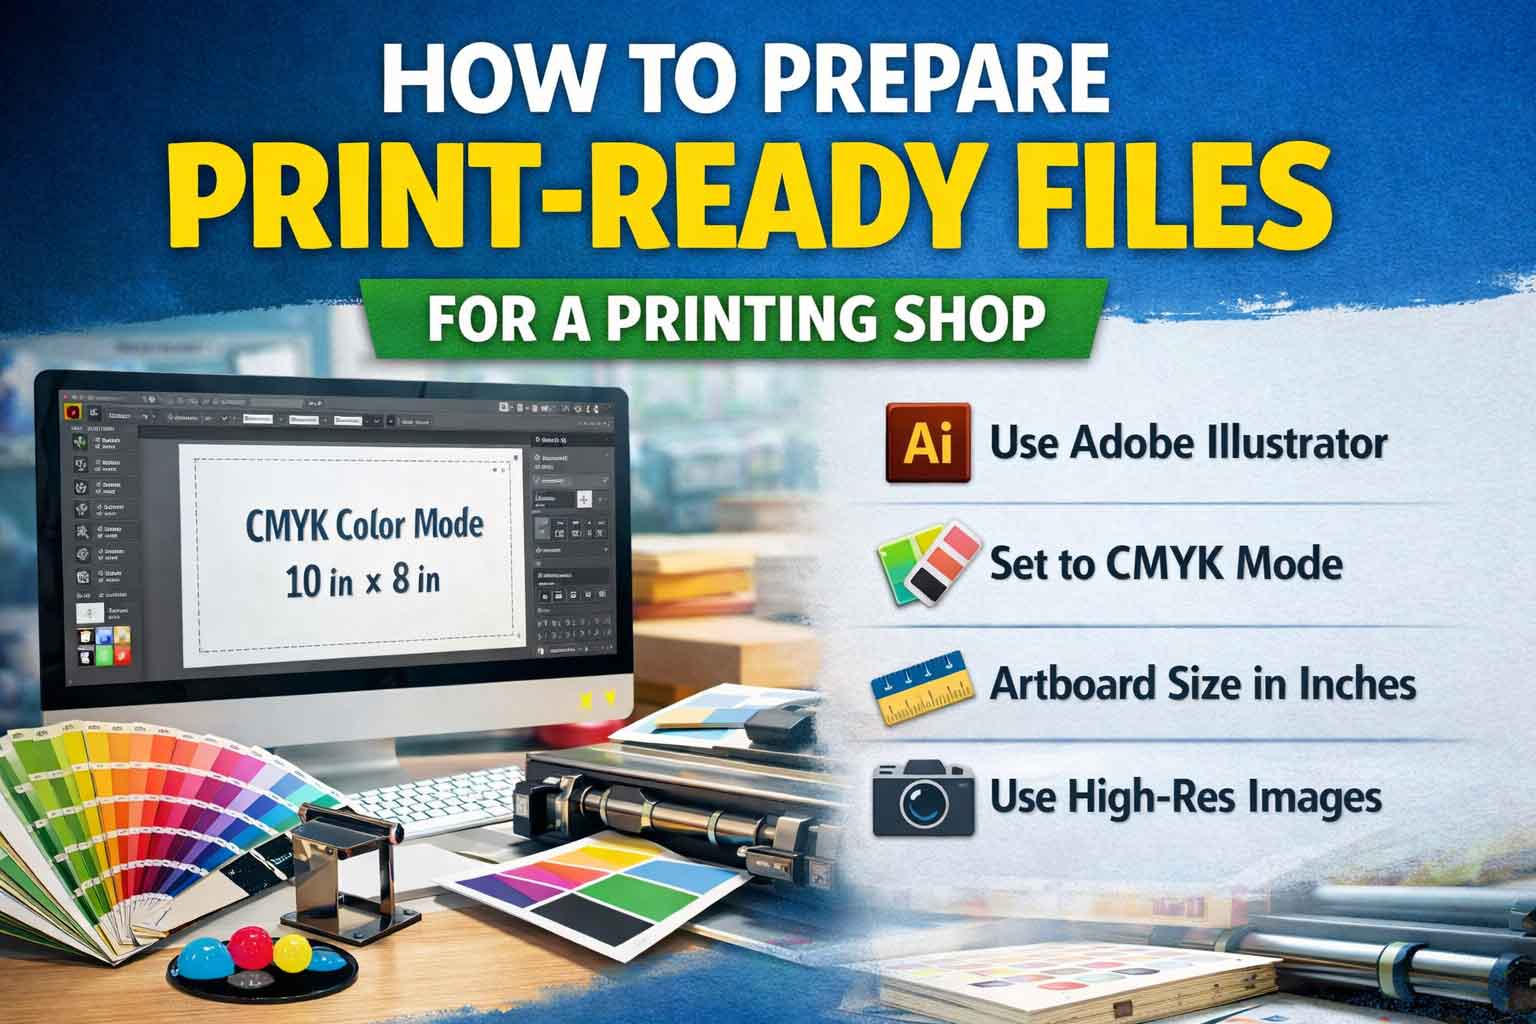
Why File Setup Determines Print Quality
The single most common source of print quality problems is not the press, the ink, or the paper - it is the file. A design that looks flawless on screen can produce white edges, blurry images, and color shifts when printed, entirely because of how the file was prepared. Understanding the technical requirements of professional printing takes about 20 minutes to learn and will save you from costly reprints and delays.
1. Work in CMYK, Not RGB
Screens display color using RGB (Red, Green, Blue light). Printers produce color using CMYK (Cyan, Magenta, Yellow, Black ink). If you design in RGB and send an RGB file to a printer, the software converts it to CMYK during printing - and this conversion is never perfect. Bright, saturated digital colors often shift noticeably. Electric blues, neon greens, and vivid reds can appear dull or muddy in print.
The fix: Set your document to CMYK from the very beginning. In Adobe Illustrator: File > Document Color Mode > CMYK. In Photoshop: Image > Mode > CMYK Color.
2. Set Resolution to 300 DPI Minimum
Digital screens display at 72-96 DPI. Print requires 300 DPI at the final print size. A photograph that looks sharp on your monitor may print as a blurry, pixelated image because the file lacks enough data for the printer to reproduce fine detail.
Key rules: Always source photos at 300 DPI at the intended print size. Never scale a rasterized image up in your layout software - this stretches existing pixels without adding resolution. Logos should always be in vector format (.ai, .eps, .svg) which scales without quality loss.
3. Add Bleed to Every Design
Bleed is the area of your design that extends beyond the final trim edge. Industrial printing presses and cutters are highly accurate but not perfect - a tolerance of plus or minus 1/16 inch is standard. If your background color or image ends exactly at the trim line and the cutter shifts slightly, you get a thin white border along one edge.
The solution is bleed: extend all background elements 0.125 inches (1/8 inch) beyond the final trim line on all four sides. When the piece is trimmed, even with slight variance, the background extends to the edge with no white gaps.
Standard bleed requirements: Business cards, postcards, flyers: 0.125" on all sides. Banners: 0.5" on all sides.
4. Keep Critical Content in the Safe Zone
While bleed extends outward, the safe zone works inward. Keep all critical content - text, logos, key design elements - at least 0.125 inches inside the trim line. This protects your content from being accidentally cut off.
Think of your document as having three zones: Bleed zone (0.125" beyond trim - background only), Trim line (the intended final edge), and Safe zone (0.125" inside trim - all critical content here).
5. Embed Fonts or Outline Text
Fonts are separate files installed on your computer. When you send a PDF to a printer, the font data needs to travel with it. If it does not, the printing software substitutes a default font and your carefully chosen typography disappears.
When exporting from Adobe applications, choose "Embed All Fonts" in your PDF export settings. Alternatively, convert all text to outlines (Type > Create Outlines in Illustrator) before export. Outlined text becomes vector shapes requiring no font file - but you cannot edit it once outlined, so do this on a saved copy of your final file.
6. Export as High-Resolution PDF
The industry-standard format for professional print files is PDF/X-1a or PDF/X-4. When exporting from Adobe applications, use the "PDF/X-1a:2001" or "Press Quality" preset. Ensure Marks and Bleeds includes crop marks. Set bleed to 0.125" on all sides in the export dialog. Confirm color is set to CMYK.
Our Prepress Review Process
Every file submitted to Super Cheap Cards goes through a prepress review before going to press. We check bleed, resolution, color mode, and font embedding. If we find an issue, we contact you before printing. Setting up your file correctly means faster turnaround and no surprises.
Questions about your file? Send it to savemoney@worldscheapestprinting.com and our prepress team will review it at no charge.